
On this pageYour first hour
Your first hour: from a new order to your first horde
A new server is normally live within 20 minutes of payment. These six steps take it from a fresh install to a world your group can join, with you holding the admin keys.
- Stop the serverIn the game panel, stop the server before touching any file. 7 Days to Die reads serverconfig.xml as it boots, so a change saved while it runs is simply not picked up.
- Open serverconfig.xmlConfiguration Files lists serverconfig.xml with a Config Editor that turns it into a form. Fill in the server name and description, and a password if the world is for invited players only.
- Choose the worldUnder Map Settings, pick Navezgane for the hand-made map, RWG for a random world from a seed and size, or Pregen/Custom for one of the pregenerated maps. The worlds chapter compares them.
- Choose the rulesLower down, Sandbox Settings holds what used to be difficulty. Adventurer is the default; load another official preset or paste your own Sandbox Code, as the sandbox chapter explains.
- Start it and leave it aloneSave and press Start. The first boot of a new world builds its files, and on a big map our guides allow up to an hour. Follow it in the Web Console and do not stop the server until it reports GameServer.LogOn successful.
- Join and take chargeFind the server by name in the game's server browser, or connect with the IP and port from the panel. Then add yourself to serveradmin.xml, as the admins chapter shows, so console commands answer to you.
serverconfig.xml after 3.0: what still lives in it
serverconfig.xml is the file the dedicated server reads at start-up. Version 3.0 moved thirty gameplay properties out of it into a single SandboxCode, so many older guides list lines that no longer exist. What remains is mostly about the server, the world and land claims. Values below are examples; edit with the server stopped.
Identity and access
- ServerName = "Horde Night HQ"
- The name shown in the server browser.
- ServerDescription = "PvE, weekly blood moons"
- A line of text listed with the server.
- ServerPassword = ""
- Empty for an open server; fill it to keep strangers out.
- ServerVisibility = 2
- 2 lists the server publicly, 1 shows it to friends only, 0 keeps it out of the browser.
- ServerMaxPlayerCount = 8
- How many can play at once. Above 8, console players can no longer join.
- ServerReservedSlots = 0
- Slots, out of the maximum, kept for players at ServerReservedSlotsPermission or better.
- ServerAdminSlots = 0
- Admins who can still get in when the server is full.
Crossplay and anti-cheat
- ServerAllowCrossplay = true
- Lets PS5 and Xbox Series X|S players in, if the other crossplay rules are met too.
- EACEnabled = true
- Easy Anti-Cheat. Required for crossplay; mods that ship their own code need it off.
- IgnoreEOSSanctions = false
- Must stay false for consoles to see the server.
World
- GameWorld = Navezgane
- Navezgane, RWG, or the name of a pregenerated or custom world.
- WorldGenSeed = "blood-river"
- For RWG: the seed. The same seed and size always produce the same map.
- WorldGenSize = 8192
- For RWG: the map's width in blocks. Larger maps generate for longer and use more memory.
- GameName = "Season 1"
- Names the save. A new GameName starts a fresh save, and the old one stays on disk.
- SandboxCode = AAAJABJACJADJARFBNC
- Every gameplay rule in one code. This one is The Fun Pimps' equivalent of the classic Adventurer default.
PvP, land claims and bedrolls
- PlayerKillingMode = 3
- 0 no killing, 1 allies only, 2 strangers only, 3 everyone.
- LandClaimCount = 5
- Claim blocks each player may place. The default rose to 5 in version 2.0 so players can claim in every biome.
- LandClaimSize = 41
- Width in blocks protected around each claim block.
- LandClaimExpiryTime = 7
- Real days a player can be offline before their claims stop protecting.
- LandClaimOfflineDurabilityModifier = 4
- How much tougher claimed blocks are while the owner is offline; 0 makes them indestructible.
- BedrollDeadZoneSize = 15
- Zombie-free area around a bedroll, in blocks from its centre.
Load on the server
- MaxSpawnedZombies = 64
- The cap on zombies alive across the whole map. The file's own notes warn it has a huge impact on performance.
- MaxSpawnedAnimals = 50
- The same cap for animals, which cost far less CPU than zombies.
- ServerMaxAllowedViewDistance = 12
- The furthest view distance a player may ask for, 6 to 12. High values cost memory and performance.
Sandbox presets and codes: difficulty, loot and everything else
Dead Hot Summer (3.0) replaced the old difficulty slider with 150 sandbox options. A server no longer takes thirty separate lines: it takes one Sandbox Code that carries every choice, and the game ships with presets you can load as they are.
Player
Damage dealt, movement and stamina, XP and skill gain, death penalties and what drops when you die or quit.
Entities
Spawning and density, zombie speed by day, night and blood moon, digging, feral sense and health bars.
World
Game stage, biome progression and temperature, the four blood moon options, air drops, storms and day length.
Resources
Loot tiers, abundance per category, respawn days, plus mining, crop and resource yields.
Crafting
Progression and timers, costs, dew collectors and apiaries, item degradation and repair methods.
Traders, tasks and extras
Trader hours and prices, quests and challenges, vehicles and electricity, and novelties such as Big Heads and Tiny Zombies.
The official presets
Next to the classic difficulty presets, 3.0 added modes such as Undead Matinee (slower zombies in larger numbers, scarce ammo), Madmole's Mayhem (fewer supplies and item loss on death), Bite Club (permadeath), Legacy Survival, 7 Days Later (fast, chaotic hordes), Almost Creative Mode, Caveman's Life, Dumpster Diver, Dying World, Disaster Film and Chibi Mode. All of them come preloaded on our servers.
Loading a preset or your own code
- Build it in the gameStart a new game in 7 Days to Die, open Sandbox Options and set things the way your group wants them. The generated Sandbox Code shows on the left of that screen.
- Copy it exactlyEvery character counts, so copy the whole code rather than retyping it.
- Apply it on the serverWith the server stopped, open serverconfig.xml in the Config Editor. Under Sandbox Settings choose Custom Code in the Sandbox Preset list and paste the code into Custom Sandbox Code. For an official preset, just pick it from the same list.
- Start and checkStart the server and confirm a couple of settings in game before the group moves in.
Carrying a 2.6 save into 3.x? Its old difficulty lines are gone from the config. As The Fun Pimps advise, recreate them in the in-game Sandbox Options menu, copy the code and paste it as the server's SandboxCode.
Blood moons and horde nights on a shared server
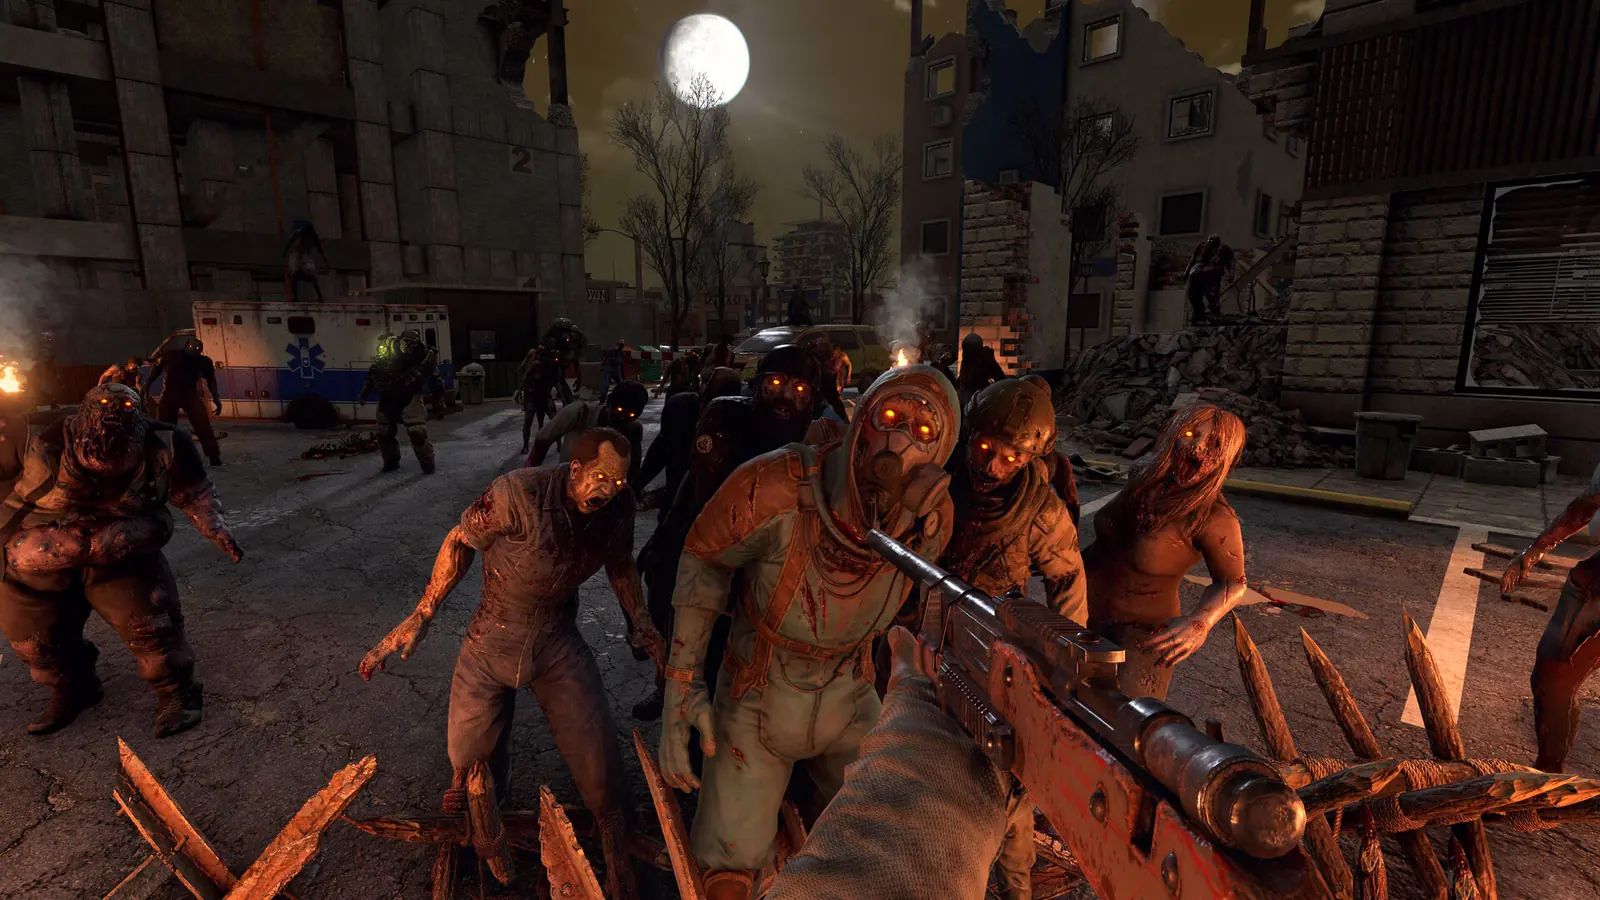
Horde night is the heart of 7 Days to Die, and on a server it is also the heaviest moment for the hardware. In 3.x four sandbox options control it; the values below are the classic serverconfig defaults.
- Blood Moon Frequency = 7
- Days between horde nights. Every seventh day is the classic rhythm the game is named after.
- Blood Moon Range = 0
- How far the real horde night may drift from that schedule, in days. 0 keeps it exact.
- Blood Moon Count = 8
- Zombies alive at once per player during the horde. On a multiplayer server, MaxSpawnedZombies still caps the total.
- Blood Moon Warning = 8
- The hour on blood moon day when the day counter turns red.
Getting the server through horde night
- Expect the peak: horde size grows with the players online, up to the MaxSpawnedZombies cap, so blood moon with a full server is your busiest hour. Check Activity and Stats that night before deciding on more memory.
- Keep restarts clear of it: schedule them for the morning after, not the evening of. Tasks run on the machine's local clock, which Server Details shows.
- Protect the bases: the bedroll dead zone keeps zombies from spawning on top of a base, and land claims toughen protected blocks. Agree both before the first horde.
- Long-range warnings: Blood Moon Warning paints the day counter red from the hour you choose, which gives scattered players time to get home.
Worlds: Navezgane, random gen and pregenerated maps
The map decides how long the first boot takes, how much memory the server needs and how the group spreads out. The choice sits in serverconfig.xml under Map Settings.
Navezgane
The Fun Pimps' own handcrafted map, the same for every server that runs it.
RWG
Random World Generation builds a unique map from WorldGenSeed and WorldGenSize. The same seed and size always return the same map, so a favourite can be shared.
Pregenerated
Version 1.0 and newer ship 16 pregenerated maps, Pregen04kA to Pregen10kD, in 4K, 6K, 8K and 10K sizes. Choose Pregen/Custom and type the name into both the world name and Game Name fields.
Overhaul maps
Overhauls bring maps of their own. Our Darkness Falls guide lists the world names for its V6 release, such as DFalls-Large1-PEP and Europe 12K.
Map size and memory
Larger maps take longer to generate and keep more in memory. The guide on our order form is 8GB or more for a 6K world, 8GB to 12GB for 8K and 12GB to 16GB for 10K. Every plan includes up to 10GB, so a 6K world fits comfortably and an 8K world usually does.
Bringing your own save
- Find it on your PCSaves sit in
%APPDATA%\7DaysToDie\Saves\<world>on Windows. A random world also has its map in%APPDATA%\7DaysToDie\GeneratedWorlds\<world>. - Upload it as a zipZip each folder and upload it, the save to
Saved/Saves/and the map toSaved/GeneratedWorlds/. Right-click the zip in the File Manager, extract it, then delete the zip. - Match the map settingsIn the Config Editor, set Game World to RWG or Navezgane and copy the original settings. GenerationInfo.txt holds the seed, map_info.xml the size, and the game name is the folder name inside
Saved/Saves/<world>/. - Start itSave and start. The server loads the existing save instead of creating a new one.
Crossplay: PC, PS5 and Xbox on one server
Since version 2.0, players on PS5 and Xbox Series X|S can join dedicated servers, but only servers that follow The Fun Pimps' rules. PC players can join whatever the settings; consoles cannot.
- ServerMaxPlayerCount = 8
- 8 at most.
- ServerAllowCrossplay = true
- Must be on.
- EACEnabled = true
- Anti-cheat must be running.
- IgnoreEOSSanctions = false
- Must be off.
The Fun Pimps also publish allowed ranges for gameplay values on a console-compatible server, written before 3.0 moved them into the sandbox: XP multiplier 25 to 300 percent, player block damage 25 to 300 percent, loot abundance up to 200 percent, loot respawn of 5 days or more, air drops no more often than every 24 hours, a day length of at least 10 minutes and a blood moon count from 4 to 64. If console players cannot see a server that meets the four rules above, an out-of-range value is the next thing to check.
- No mods with consoles. PS5 and Xbox players cannot join dedicated servers that run mods, so a crossplay server stays vanilla.
- More than 8 slots means PC only. Our larger plans suit PC groups; console friends need the 8 slot setup.
- Console admins use EOS IDs. When an Xbox, PS5 or Epic player joins with the Web Console open, their EOS ID appears. Add it to serveradmin.xml without the EOS_ prefix.
- Location counts. Consoles list compatible servers in their own region, so choose the location nearest your group.
Admins, permission levels and console commands
Who may do what is stored in serveradmin.xml, which lives with the saves. Permission levels run from 0 to 1000 and lower means more power: a player can use any command whose level is equal to or above their own.
- Open serveradmin.xmlStop the server and open serveradmin.xml from Configuration Files with the Config Editor.
- Choose platform and IDSteam players are added by their Steam64ID, which sites such as steamid.io look up. Epic, Xbox and PS5 players are added by EOS ID, read from the Web Console as they join, minus the EOS_ prefix.
- Set the level and startLevel 0 is a full admin. Save, start the server, and from then on
admin addin the console promotes others without touching the file.
Anyone without an entry sits at level 1000, the lowest. Commands missing from the file default to level 0, so only full admins can use them until you open them up with cp add. The same file holds the whitelist and the ban list; as soon as one player is whitelisted, only listed players and admins can join.
Console commands you will actually use
- admin add = <player or ID> 0
- Makes someone a full admin straight from the console.
- kick = <player> [reason]
- Removes a player, with a reason they can read.
- ban add = <player> 10 hours griefing
- Bans for a set time and unit, with an optional reason.
ban removelifts it. - whitelist add = <player>
- Switches the server to whitelist-only as soon as the first name is added.
- lp =
- Lists every player online with their IDs; short for listplayers.
- say = <message>
- Sends a server message to everyone connected.
- saveworld =
- Saves the world on the spot.
- setgamepref = <name> <value>
- Changes a game preference on the running server, where that setting allows it.
- cp add = <command> <level>
- Sets the level a command needs:
cp add kick 2lets level 2 moderators kick. - shutdown =
- Stops the server from the console.
Want a co-admin in the panel too? A sub user gets a separate login with only the permissions you tick.
Mods, modlets and overhauls on a PC server
7 Days to Die loads mods from a Mods folder in the server's root. Each mod is a folder with a ModInfo.xml inside it; without that file the game will not load the mod.
XML modlets
Small mods that change values through XPath files in a Config folder. The changed XML reaches players as they join, so most need nothing on the player's PC.
Mods with assets
Mods that add icons, models, textures or sounds carry asset bundles, and every player must install the same mod.
Code mods
Mods with their own DLL files only load with EACEnabled set to false, which also closes the server to console players.
Overhauls
Total conversions such as Darkness Falls replace large parts of the game and often bring their own maps; use the world names they publish.
Installing a mod
- Match the buildMods are written for a particular game version. Check yours against the mod page, or move the server to the build the mod needs (below).
- Upload the folderStop the server and upload the mod's folder into
Modswith the File Manager or SFTP, so you end up with Mods/<ModName>/ModInfo.xml. Create the Mods folder if it is not there. - DLL files go through supportUploads of .dll files are blocked on our panel for security. Send the mod to support and the team puts it in place for you.
- Start with the console openA mod that fails usually says so during start-up, which saves a lot of guessing.
Holding a version for your mods
After a game update, mods can take days to catch up. The Mod Manager lists the current Stable build alongside older Legacy builds: uninstall the one installed, install the one you need, and adjust serverconfig.xml if that version asks for it. Remove or reschedule any automatic Steam Update task until your mods have caught up.
Slots, memory and keeping the server smooth
Our 7 Days to Die servers scale by player slots, with the same hardware options at every size. These figures come straight from the order form, checked on 16 October 2026.
- Slots: 8 to 100. Anything above 8 is for PC players only.
- Memory: up to 10GB included, with 12GB, 14GB, 16GB, 20GB, 24GB and 32GB available on the order form. Our plan cards pair more memory with more slots.
- CPU: 5.0GHz included, 5.2GHz+ and 5.6GHz+ upgrades, and High or Realtime CPU priority.
- Storage: NVMe at 7,500MB/s with up to 100GB included; a 14,000MB/s drive and up to 200GB are options.
- 10GBIncluded
- 12GBUpgrade
- 14GBUpgrade
- 16GBUpgrade
- 20GBUpgrade
- 24GBUpgrade
- 32GBUpgrade
What actually uses the resources
- Map size: the order form's guide is 8GB or more for 6K, 8GB to 12GB for 8K and 12GB to 16GB for 10K.
- Zombies: MaxSpawnedZombies caps every zombie on the map at once. On a struggling server, lower it a little before cutting anything else.
- View distance: ServerMaxAllowedViewDistance, 6 to 12, has a high impact on memory and performance according to the file's own notes.
- Players spread out: ten players in ten corners of a 10K map keep far more of it loaded than ten players in one base.
- Long sessions: a restart every few hours keeps memory in check; our restart guide uses a six-hour cycle.
To change size, open your service in the client area (Services, My Services) and use the Upgrade/Downgrade options for slots, memory or CPU priority. Once the invoice for the difference is paid, restart the server, and open and save serverconfig.xml in the Config Editor so the new slot count is written in.
Restarts, updates, backups and Discord alerts
A world that runs for weeks needs a routine. The panel's scheduled tasks handle most of it and tell players before anything happens.
Backup and Restart with Messages
Warns players 10, 5, 2 and 1 minute ahead, saves the world, restarts and takes a backup. Our guide sets it to repeat every six hours.
Service Settings
Edit the restart messages players read, and paste a Discord webhook so restarts, updates, starts and stops are posted to your channel.
Steam Update
Run it by hand or as a scheduled task. Back up first, and hold it back while a modded world waits for its mods.
Scheduled Backup
Stops the server, copies it and starts it again. Backup Manager keeps the copies ready to download.
Machine local time
Tasks follow the server machine's clock. Server Details shows its local time, and your panel profile's timezone can be set to match.
Wipes and fresh starts
Wipe Server clears whatever progress you select. For a new map without losing the old one, change GameName, and the seed for RWG: the previous save stays in its own folder. Reinstall puts every server file back to default and leaves your backups untouched, the last resort for a modded install that will not recover.
When it breaks: the fixes we reach for first
Most 7 Days to Die tickets we see come down to the same handful of causes. Check these before reinstalling anything.
- Console players cannot see the serverCheck the four crossplay rules: 8 players at most, ServerAllowCrossplay true, EACEnabled true, IgnoreEOSSanctions false. Mods or out-of-range gameplay values hide it as well.
- The server is missing from the list after its first startA new world may still be generating. Watch the Web Console; [GSM] GameSparks Connected lines can be ignored, and the server is up once it prints GameServer.LogOn successful.
- The map is broken after stopping the first bootStopping during the first generation corrupts the map. Start the generation again and leave it running until it finishes.
- Old difficulty settings vanished after 3.0Version 3.0 moved them into the SandboxCode. Rebuild them in the in-game Sandbox Options menu and paste the code into the Config Editor.
- A setting will not stickEither it was edited while the server ran, or it now belongs to the sandbox. Stop, edit, save, start; for gameplay values, change the Sandbox Code.
- A mod does not loadCheck that ModInfo.xml sits directly in Mods/<ModName>/, that the mod matches your game build, and that EAC is off if it ships DLL files.
- Players cannot join after a game updateTheir game and the server run different builds. Update both, or move the server to the matching build in the Mod Manager.
- Admin commands are refusedYour ID in serveradmin.xml is wrong or your level too high; lower numbers carry more power. Steam needs the Steam64ID, Epic and consoles the EOS ID without its prefix.
- Restarts happen at the wrong hourScheduled tasks follow the machine's local time. Check it in Server Details and set your panel profile's timezone to match.
- A .dll upload is refusedDLL, EXE and BAT uploads are blocked for security. Send the files to support and the team installs them.
Host it at home or rent it: what each really involves
The Fun Pimps provide a free dedicated server tool on Steam, so running one at home is entirely possible. Whether it is the better choice depends on your hardware and your group's hours.
At home you install the 7 Days to Die Dedicated Server tool through Steam or SteamCMD, edit serverconfig.xml by hand, open the game port (26900 by default) on your router, and keep a PC with enough memory for your map running whenever anyone wants to play.
At home
- No monthly bill if the PC already exists.
- Total control over files, mods and versions.
- World generation and blood moons compete with whatever else the PC is doing.
- Online only while that PC is on, over your home connection.
- Every update, backup and broken mod is yours to sort out.
Rented from Gaming Deluxe
- Online within 20 minutes in 9 locations across the UK, Europe, the US and Australia.
- Official sandbox presets and pregenerated maps ready in the Config Editor.
- Stable and Legacy builds a click apart in the Mod Manager.
- Scheduled restarts, backups and Discord alerts.
- A monthly cost that rises with slots and memory.
For a couple of friends who play on the same evenings, a spare PC does the job. Once the group plays at different times, or a 10K world and an overhaul start to strain your desktop, a rented server keeps the hordes coming without you. Plans are on our 7 Days to Die Server Hosting page.


